[FONT="]The Challenge:[/FONT]
[FONT="]The owners requirement for the replacement of the boot filling audio system.[/FONT]
[FONT="]The new system needed to play CD’s, have a radio tuner and accept an ipod input and have the best audio quality possible complete with a quality subwoofer system on a budget of £1000.00. It also needed to sound comparable to the £8000.00 system I was removing![/FONT]
[FONT="]The Survey:[/FONT]
[FONT="]After removal of the original AV system, during which a few bits were disconnected.....[/FONT]
[FONT="]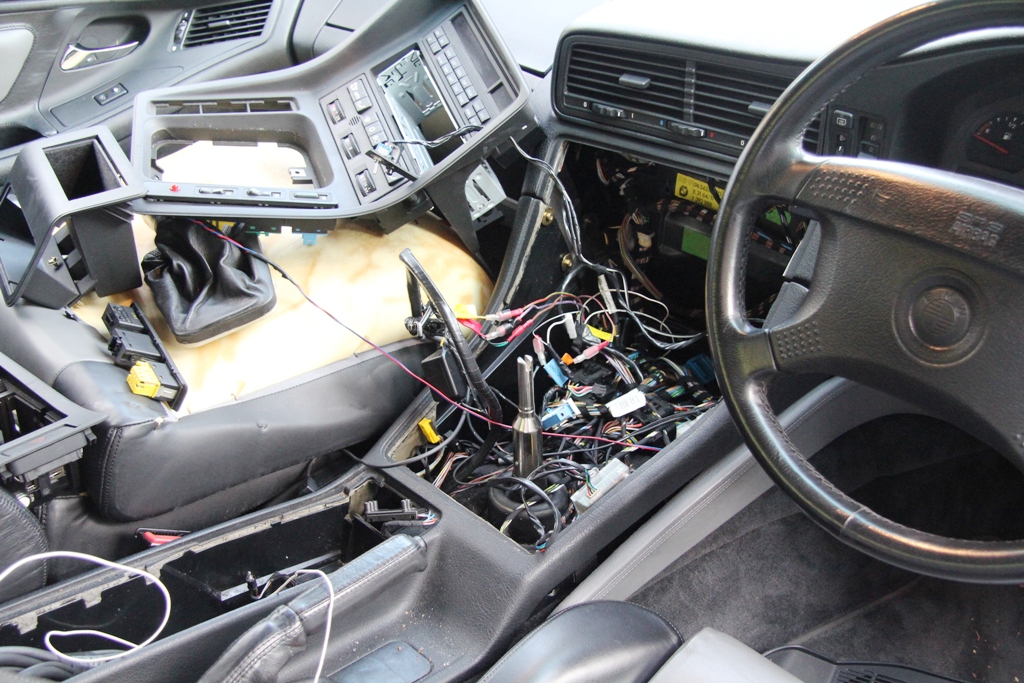 [/FONT]
[FONT="]I was getting more and more confident that my system and installation could meet the challenge. Having found the previous installers had used high grade speaker cable where visable, connected to the original “bell” wiring with bullet connectors [/FONT]
[FONT="] [/FONT]
[FONT="]as soon as going out of sight, going to the original Nokia speakers with their built in crossover through a £250 electronic crossover, [/FONT]
[FONT="]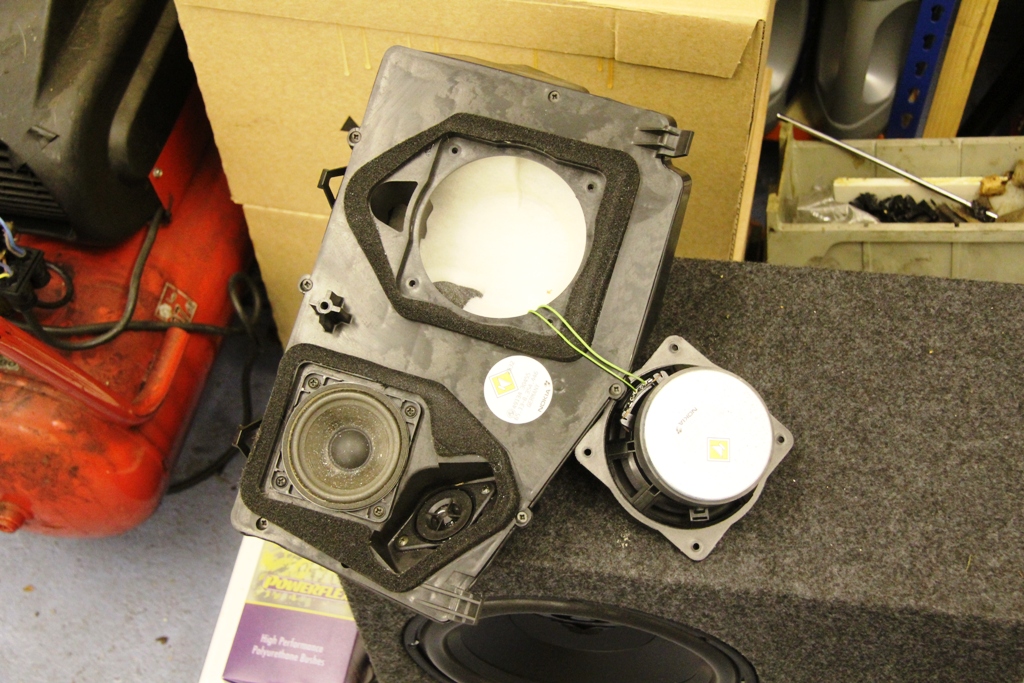 [/FONT]
[FONT="]with the front speakers held in with zip ties and the units mounted in position with fibreglass, cardboard and body filler, [/FONT]
[FONT="] [/FONT]
[FONT="]a 10” sub worth about £30 and signal and speaker cables bound together with the power cables, [/FONT]
[FONT="]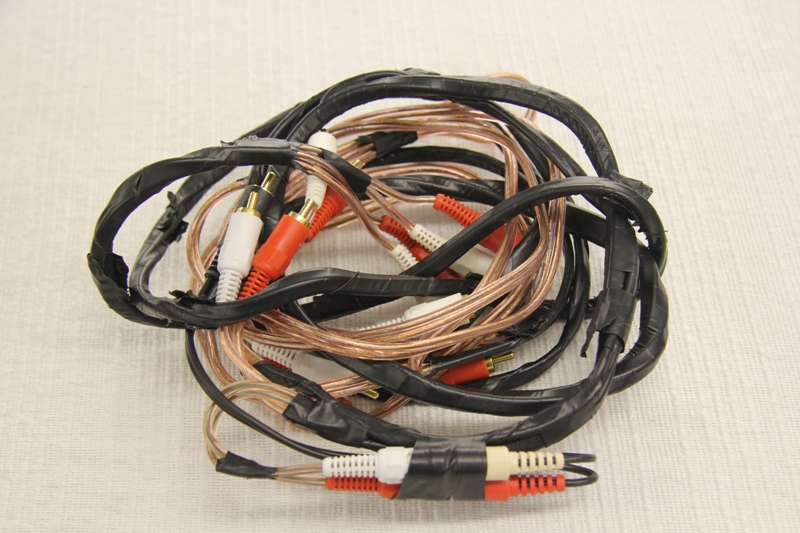 [/FONT]
[FONT="]my challenge appeared easier as I went along.[/FONT]
[FONT="]The Equipment Selected:[/FONT]
[FONT="]An Alpine CD/Tuner head unit with complete ipod control and display, integral 50Wx4 amplifier and 6x phono outputs all with head unit control. JL 12” subwoofer in a JL box, JL 250W Mono subwoofer amp, JL 6½” component front speakers, JL 4” full range rear speakers, premium power supply and speaker cabling (16-Gauge and 8-Gauge). I am not an audio system dealer so my choice was purely from experience. I decided to keep the tonal balance the same all round so I chose JL speakers for all 4 corners as well as the sub. The Alpine was not too conspicuous in appearance, had all the features the owner wanted, had a built-in 4 x 50W amp, subwoofer output and control, ipod display and control and excellent build quality.[/FONT]
[FONT="]PART 1:[/FONT]
[FONT="]Rear Speakers.[/FONT]
[FONT="]To keep costs down, I decided to utilise the original Nokia speaker cabinets but fit them with premium JL full range speakers. These were to be simply a rear fill acoustically and be clear and crisp without being brash.[/FONT]
[FONT="]Firstly, after dropping down the cabinets from the shelf, I removed all original drive units, complete with wiring to eliminate any cabinet vibrations and to stop the disconnected drive units working passively against the new speakers. [/FONT]
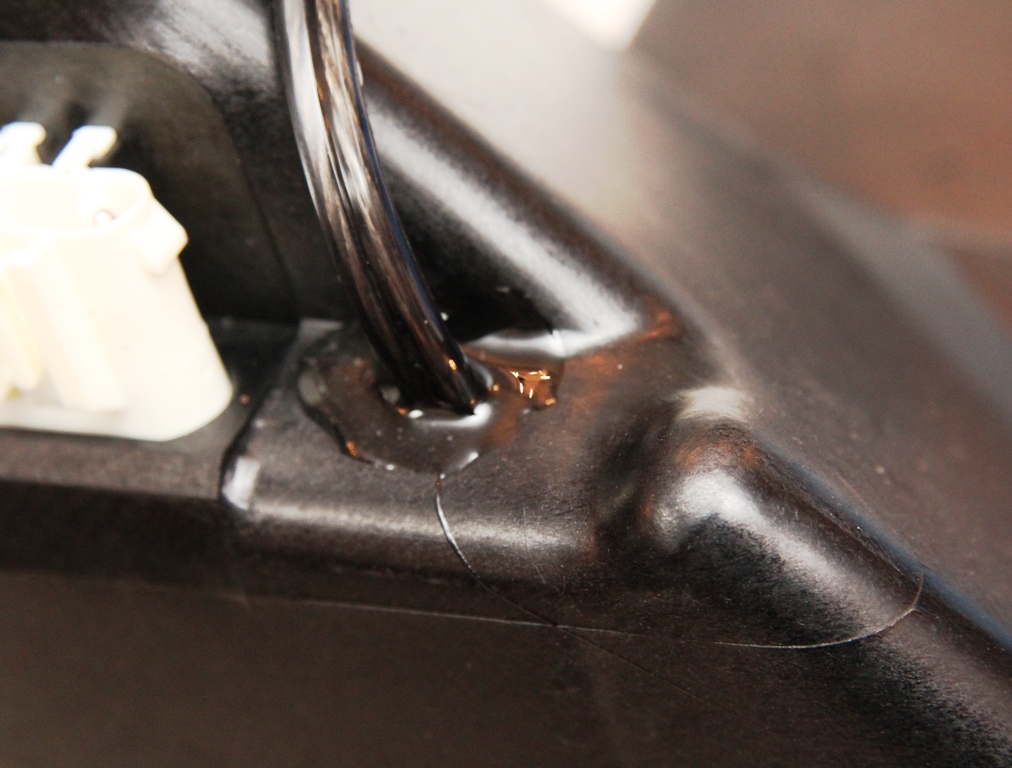
[FONT="]Next I installed new 16-Gauge silver plated cable through the box adjacent to the original multiplug and sealed the entry with epoxy to keep the cabinet sealed (apart from the designed-in top port). [/FONT]
[FONT="]I then wrapped the cable inside the cabinet with foam to eliminate any vibrations [/FONT]
[FONT="]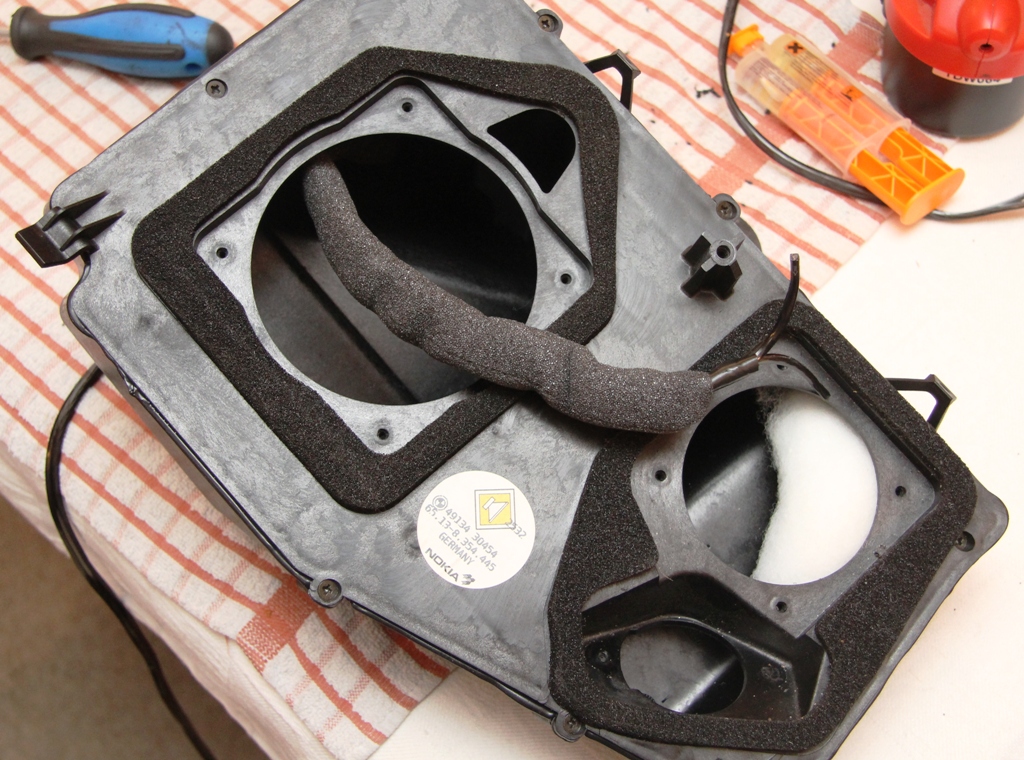 [/FONT]
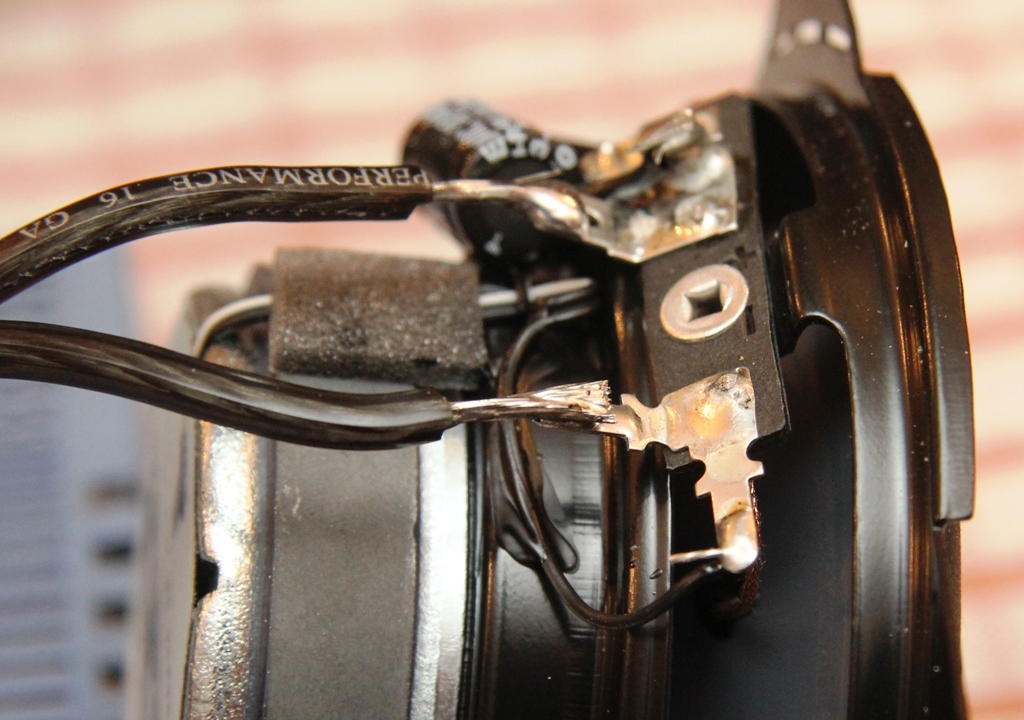
[FONT="]and lightly packed the box with fibre to eliminate interior cabinet vibrations, [/FONT]
[FONT="]and then soldered the cables to the new drive units. [/FONT]
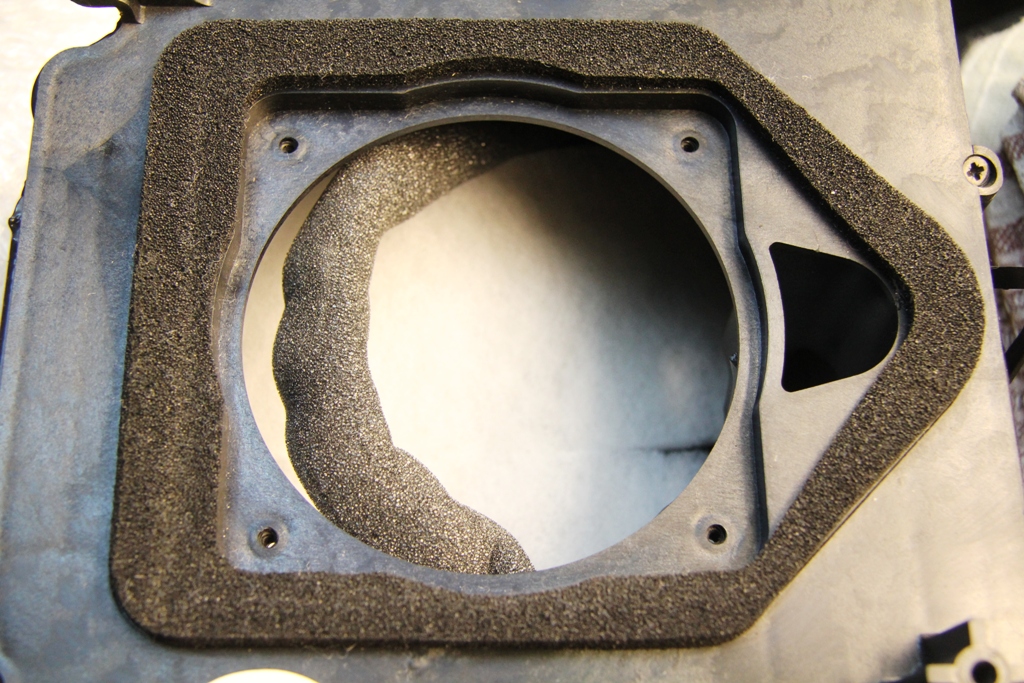
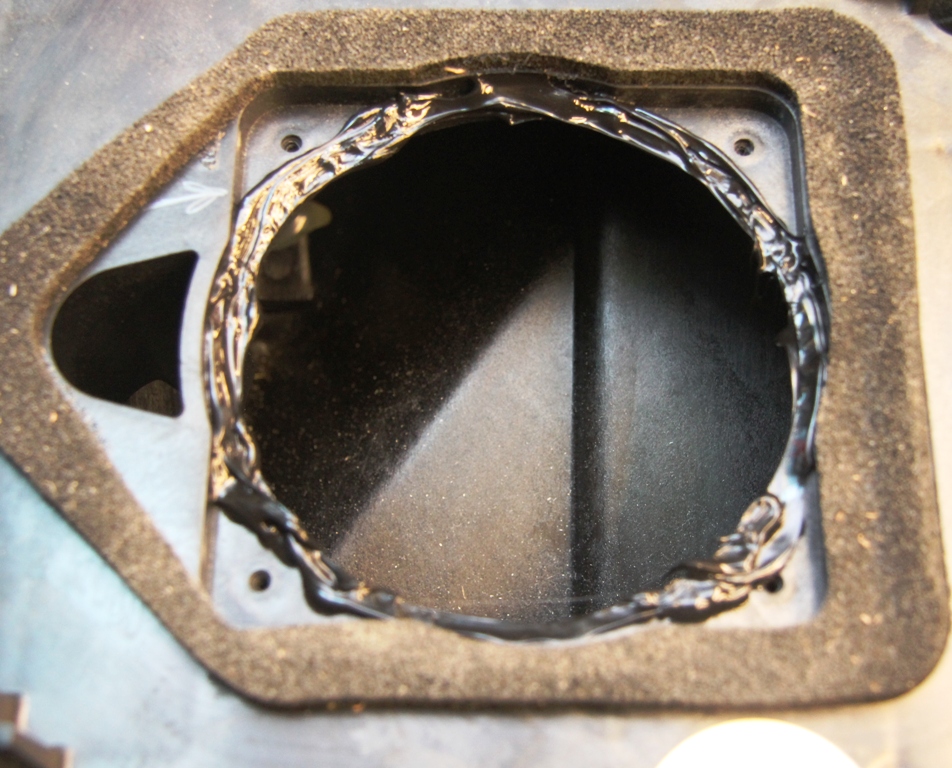
[FONT="]It can be seen that the original drive units were a non-standard 5” so with aftermarket speakers being either 4” or 5 1/2”, which were either too small or too big, I decided to go for the 4”. As you can see, the speaker left a substantial air gap when fitted directly into the cabinet[/FONT]
[FONT="]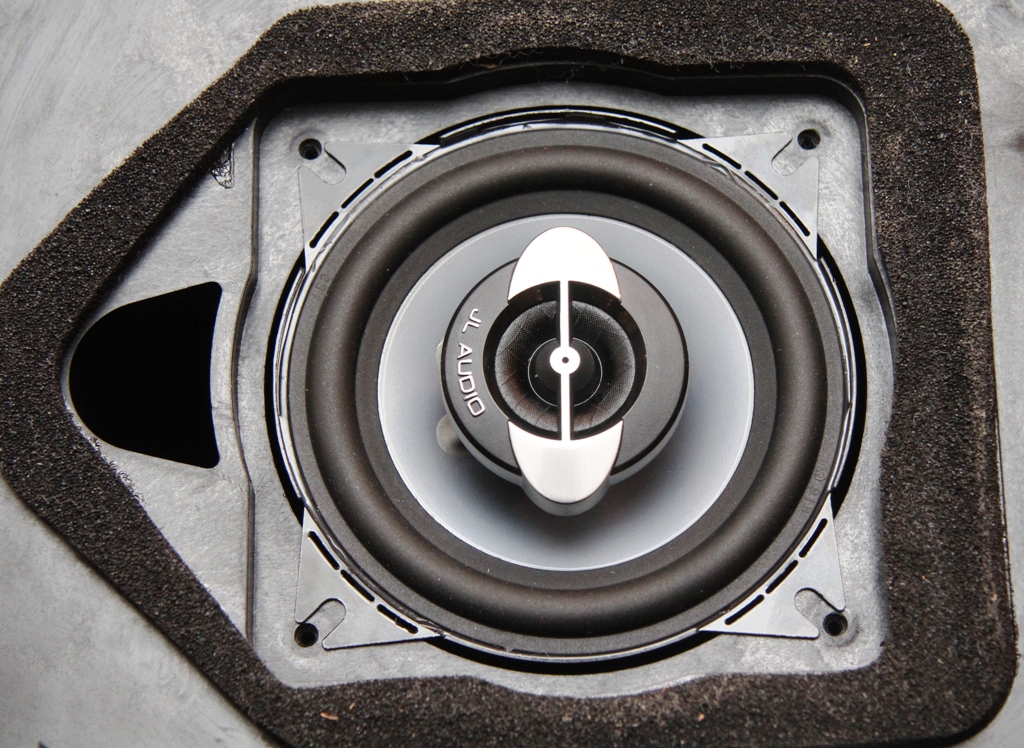 [/FONT]
[FONT="]so after running a bead of sealant around the opening,[/FONT]
[FONT="]and making a plywood adaptor plate in the recess, [/FONT]
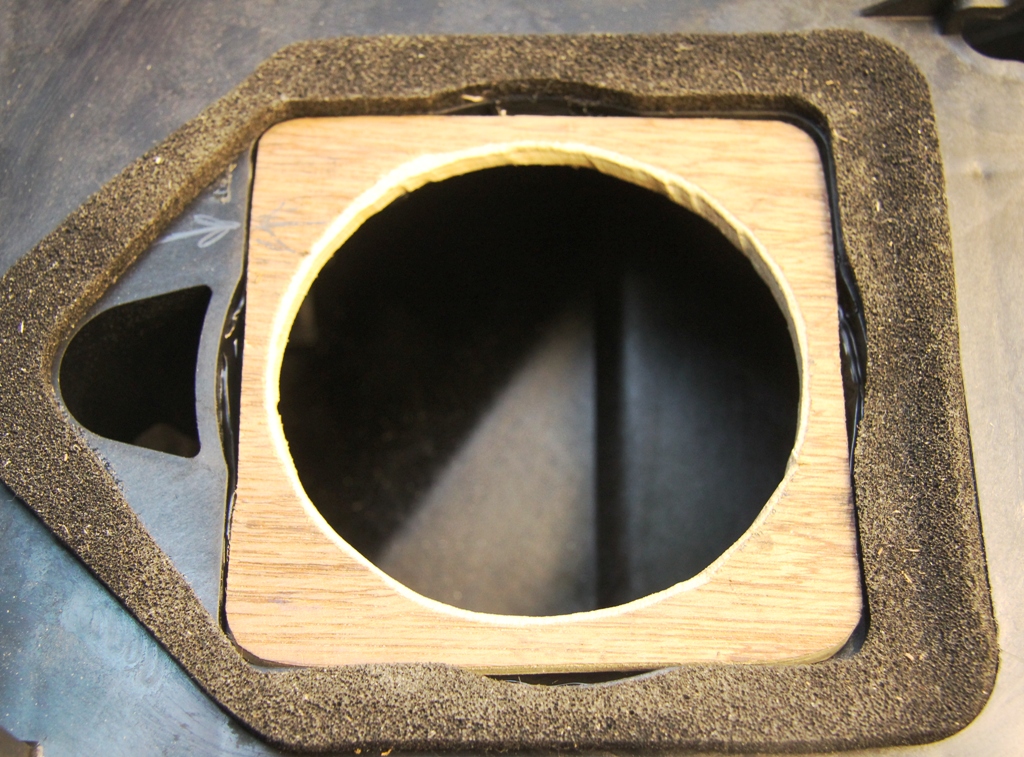
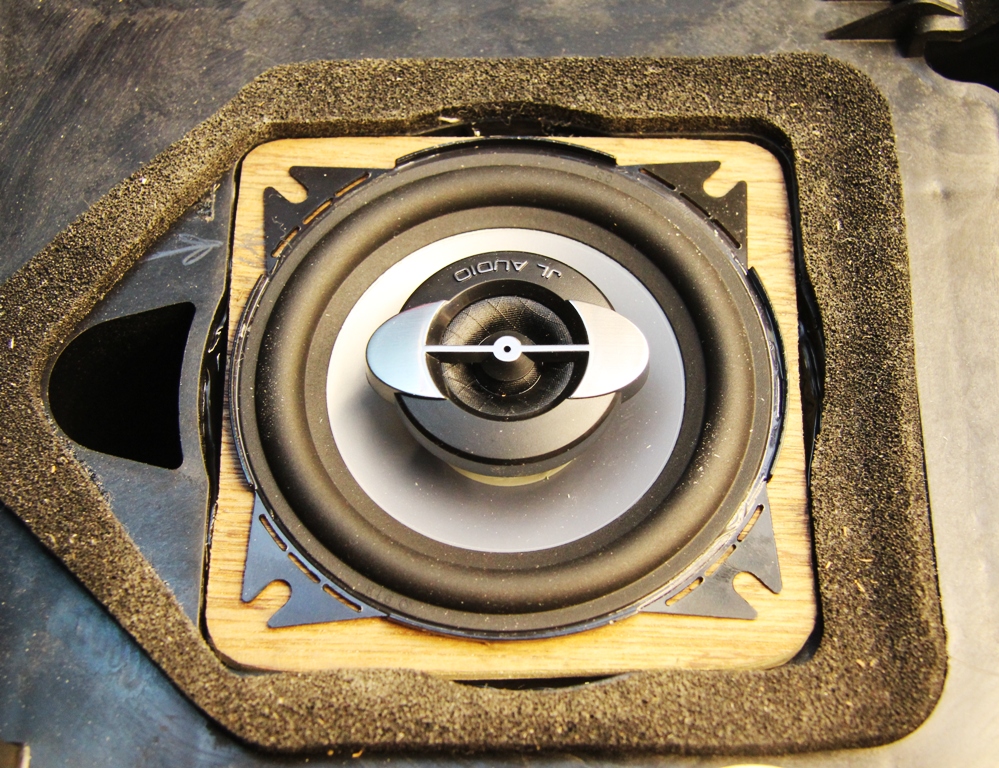
[FONT="]I fitted the speaker into the cabinet securely. [/FONT]
[FONT="]Next I needed to test the sound quality from the new assemblies and had to decide whether to seal the ports or leave then vented. To do this I used a decent quality home AV system [/FONT]
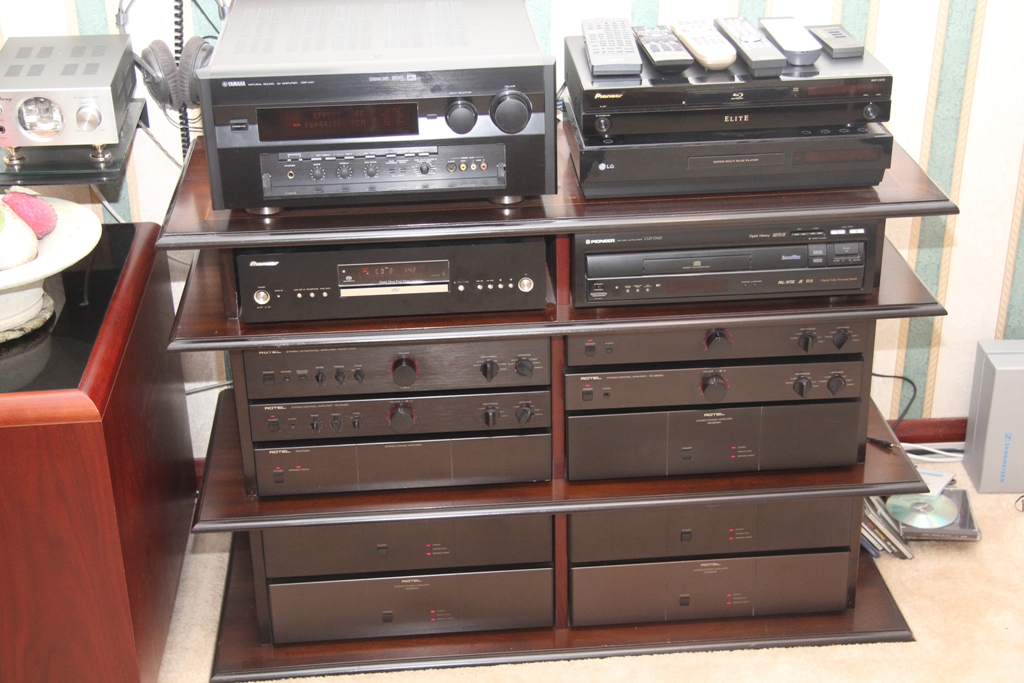
[FONT="]and disconnected the speakers.[/FONT]
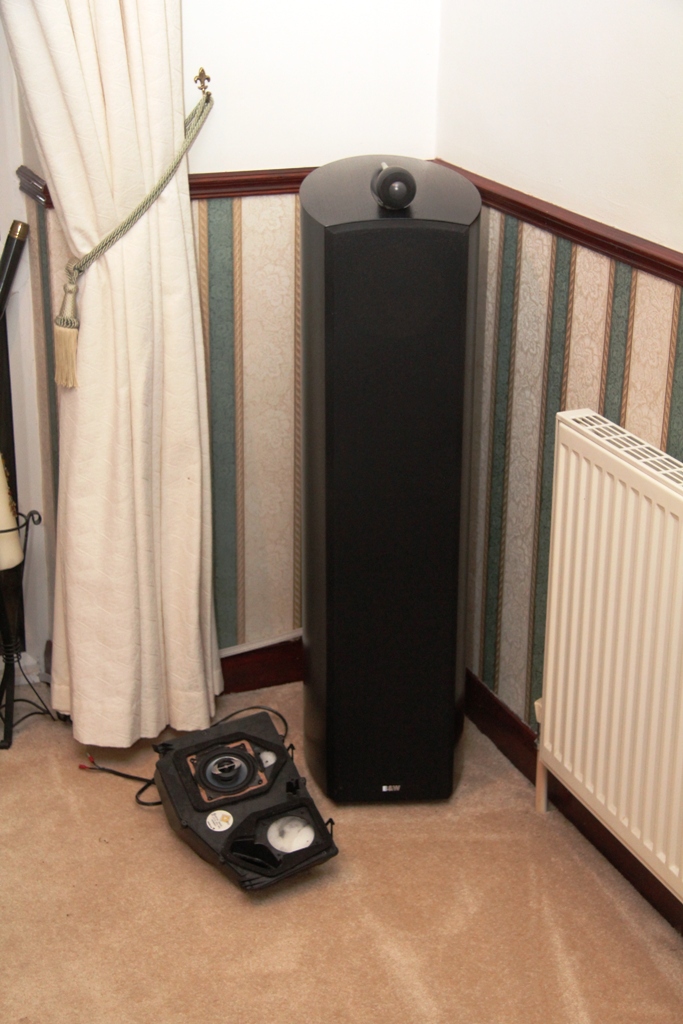
[FONT="]I then connected them up to one of the power amplifiers and experimented with port configurations. I found that the best sound came from neither a ported nor a sealed cabinet, but by having the port damped with foam so I did this to both cabinets before refitting them to the car.[/FONT]
[FONT="][/FONT]
[FONT="]Next will be the installation of the front speakers.[/FONT]
[FONT="]How thrilling. [/FONT]
[FONT="]8Tech.[/FONT]
The £1000 Audio Challenge.....Part 1.
-
-
Nice work, Gery! If you want something done right, you've got to do it yourself. (I just spent a few hours earlier this week removing a garish Sony head-unit from a friend's car to replace wih an original OEM one. There were miles of additonal cables and connectors, most of which fell apart as soon as you touched it.)
-
 Top job Gerry we all watch with interest!
 -
Another great write-up Gerry. We will all be watching this one.
-
...even watch over the channel!

Max
Jetzt mitmachen!
Sie haben noch kein Benutzerkonto auf unserer Seite? Registrieren Sie sich kostenlos und nehmen Sie an unserer Community teil!