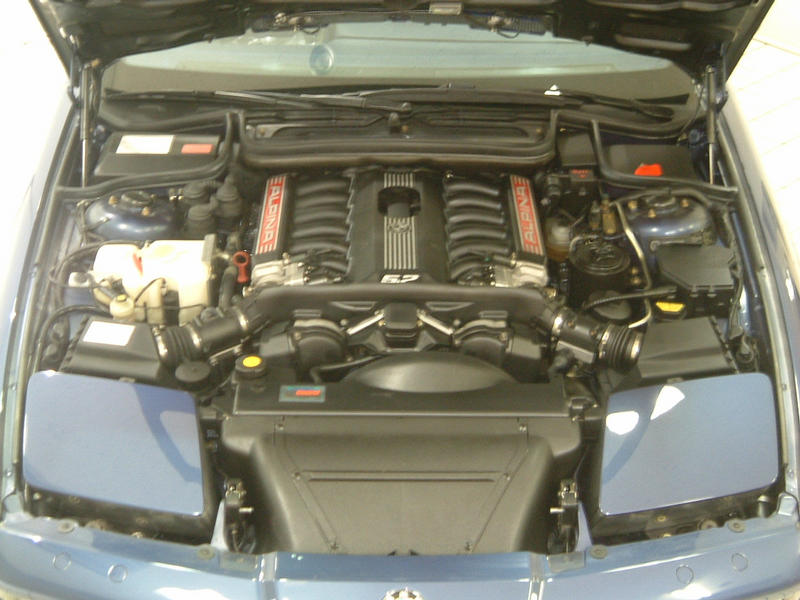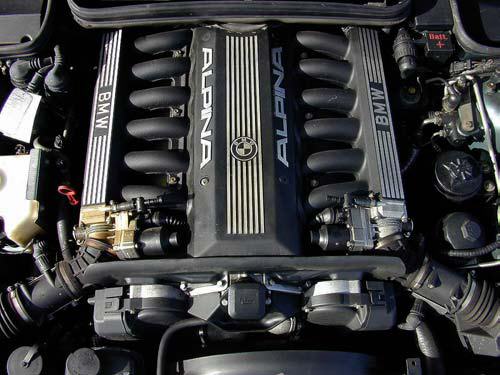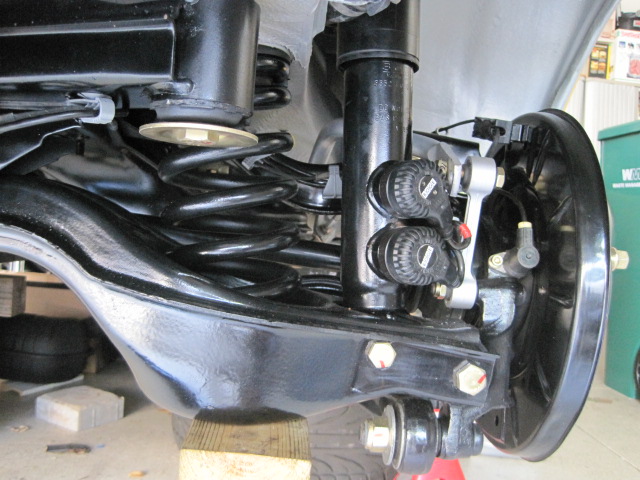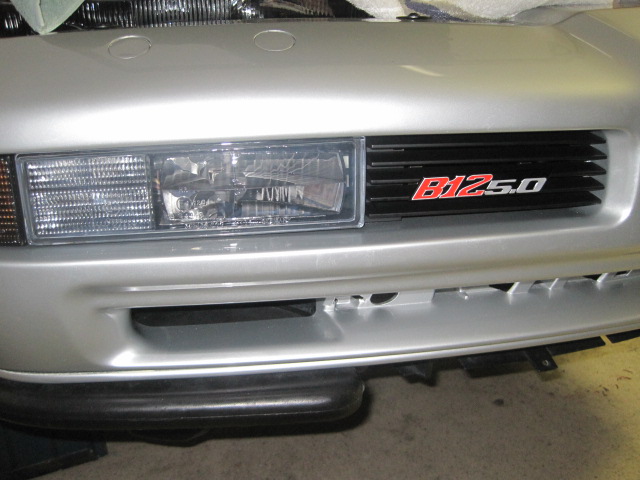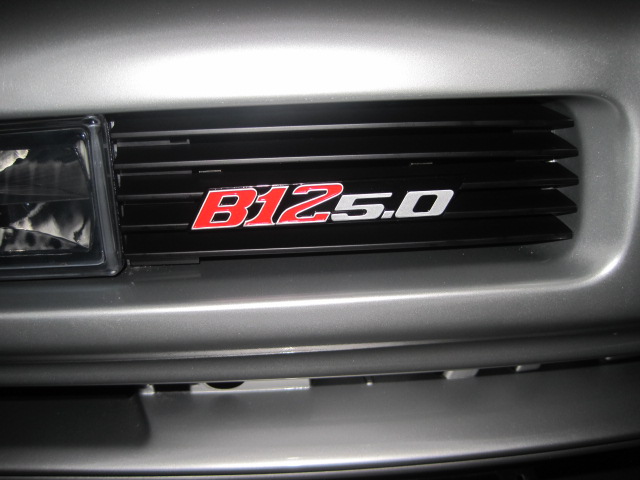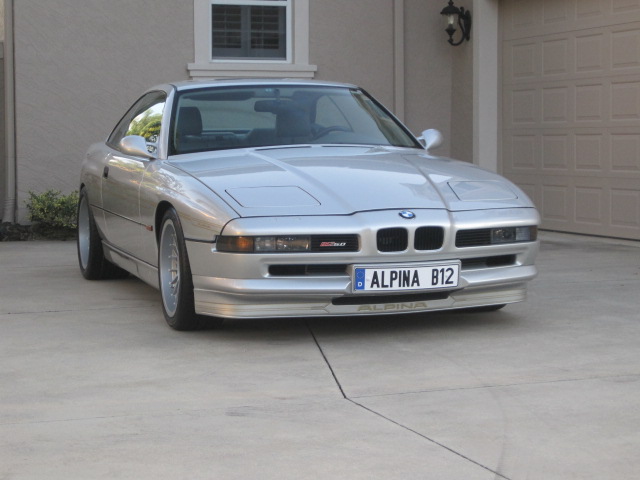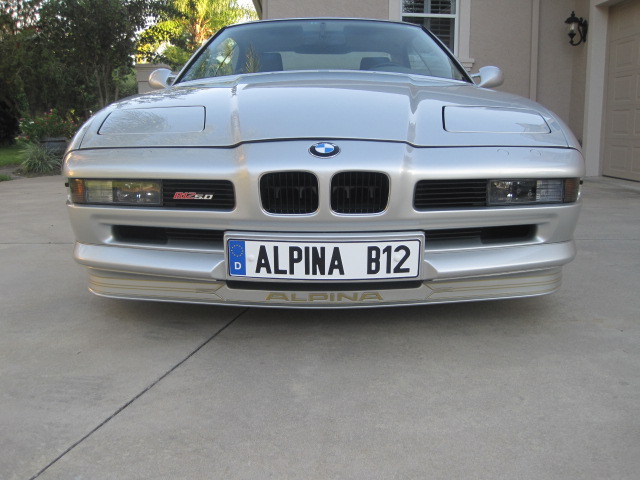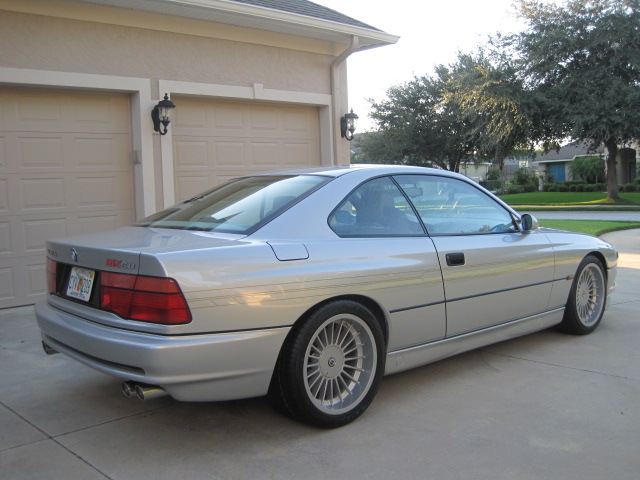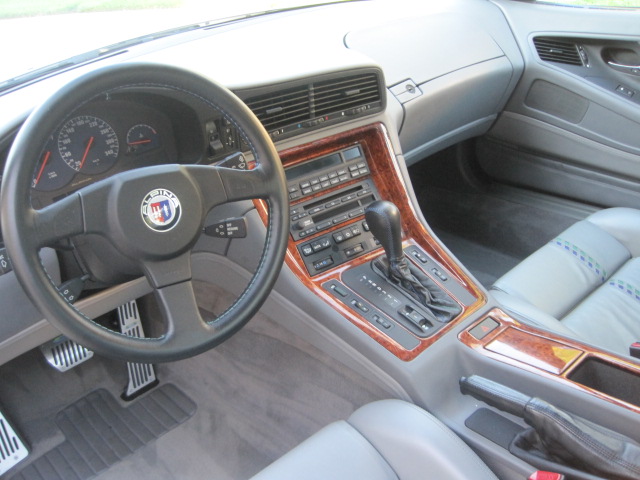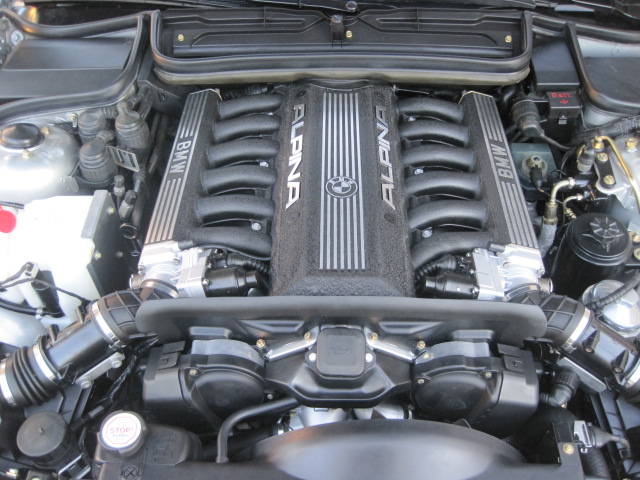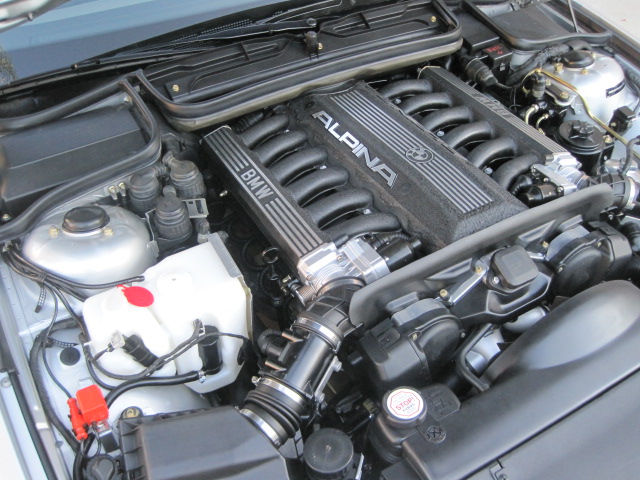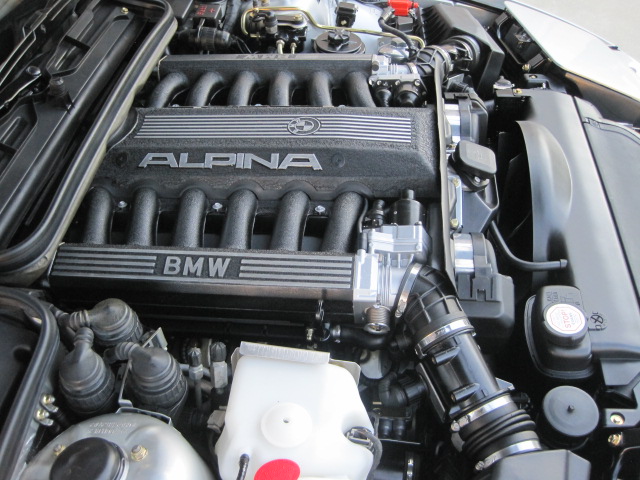
Zitat von reinhard;119122Alles anzeigenWhat happened to the acoustic cover to make it look like the intake runners?
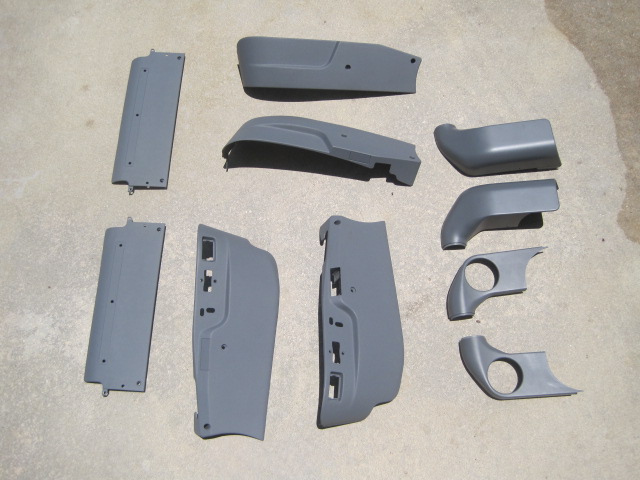
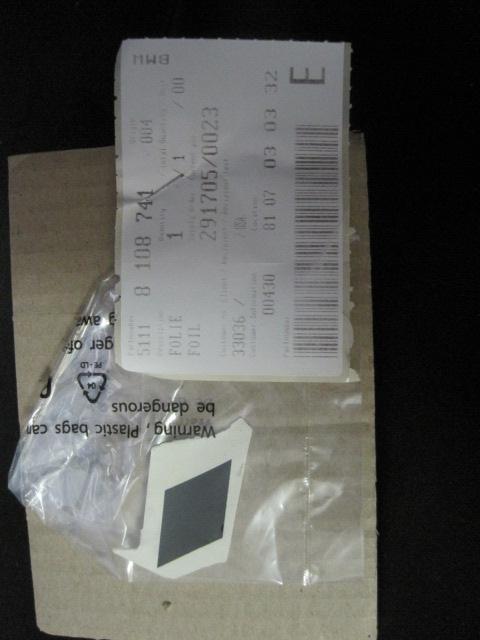
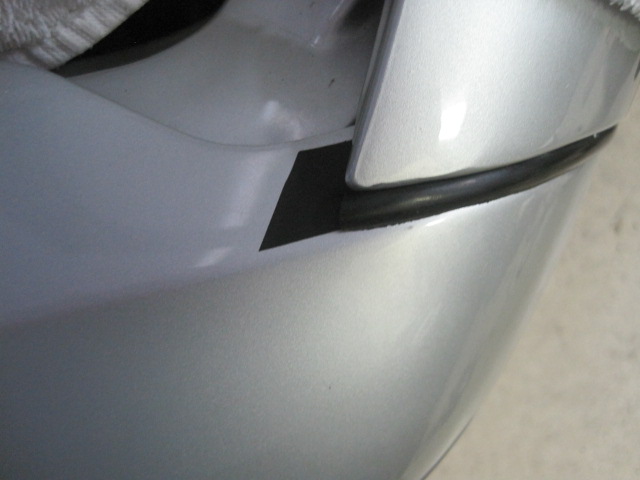
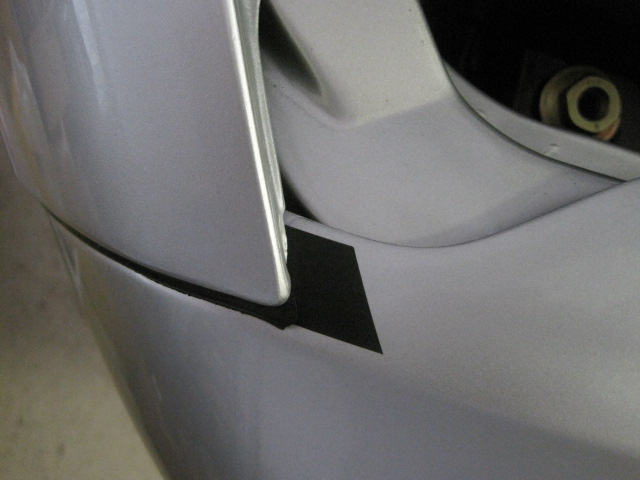
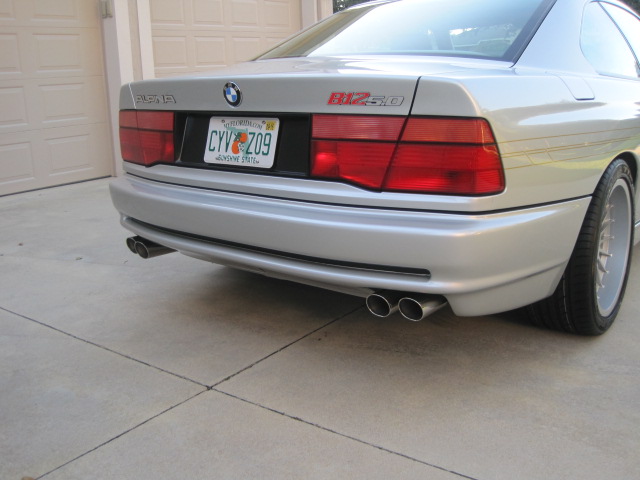
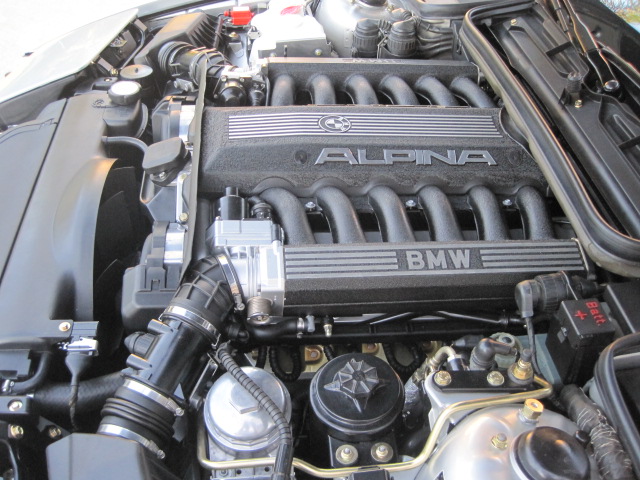
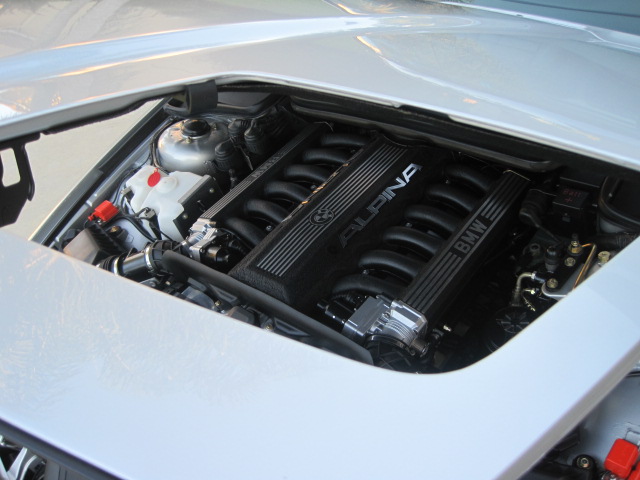
Front of engine is missing part 1723620 but I am sure this is well tucked away in a box
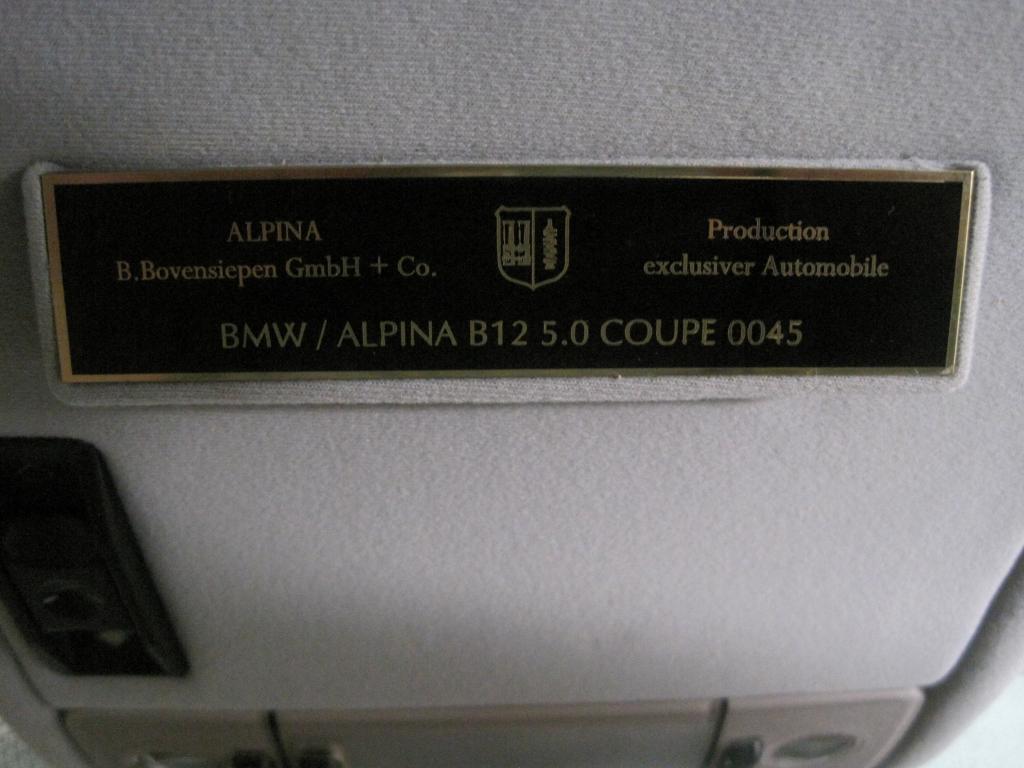
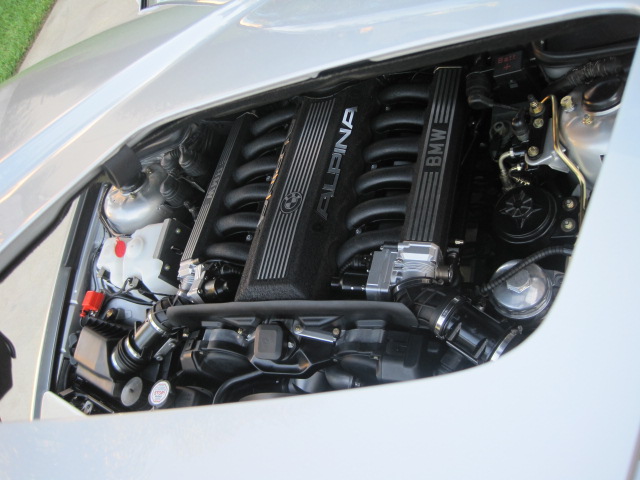
Looks like you´re on a straight to the finishing line here
Reinhard
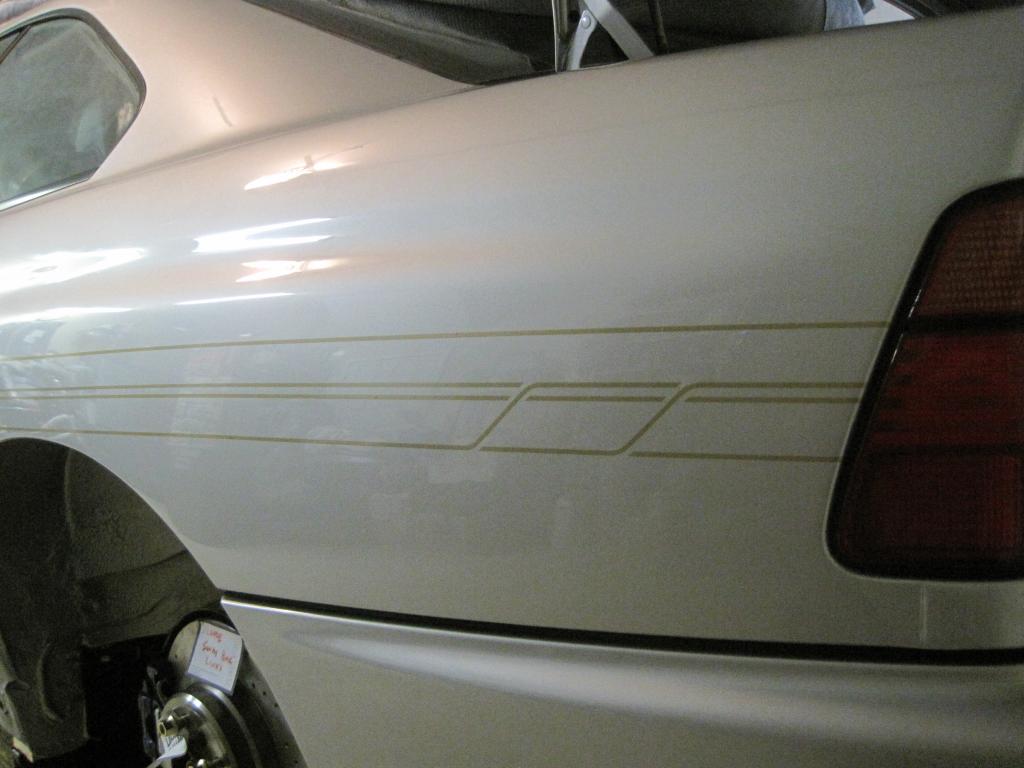
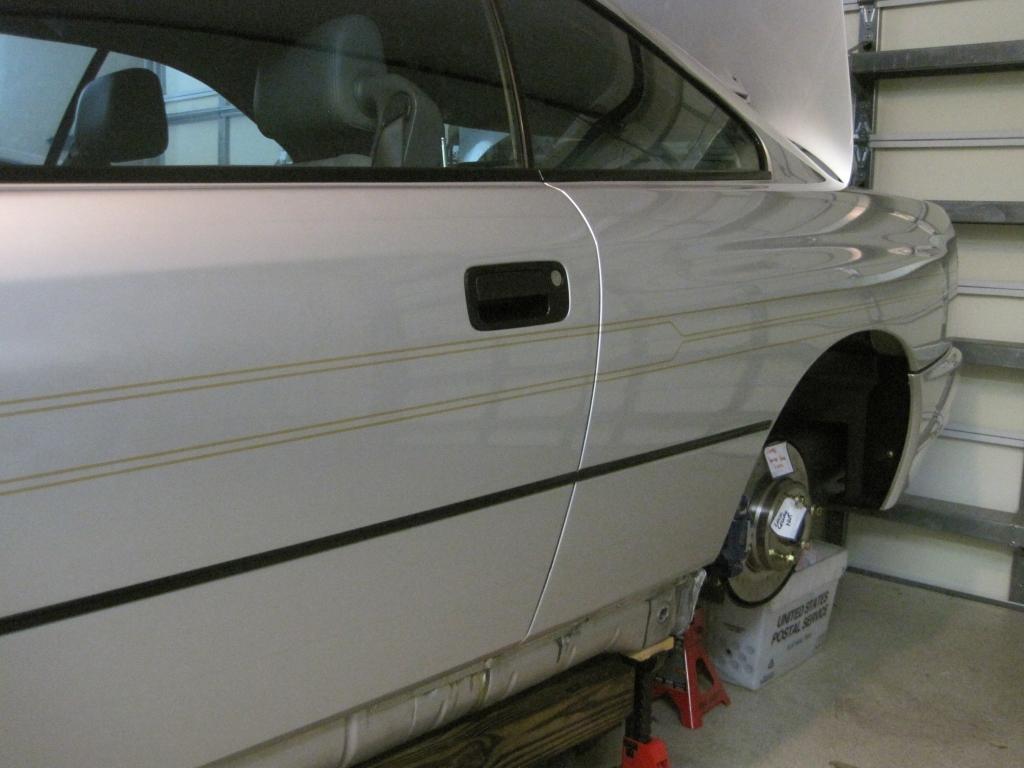
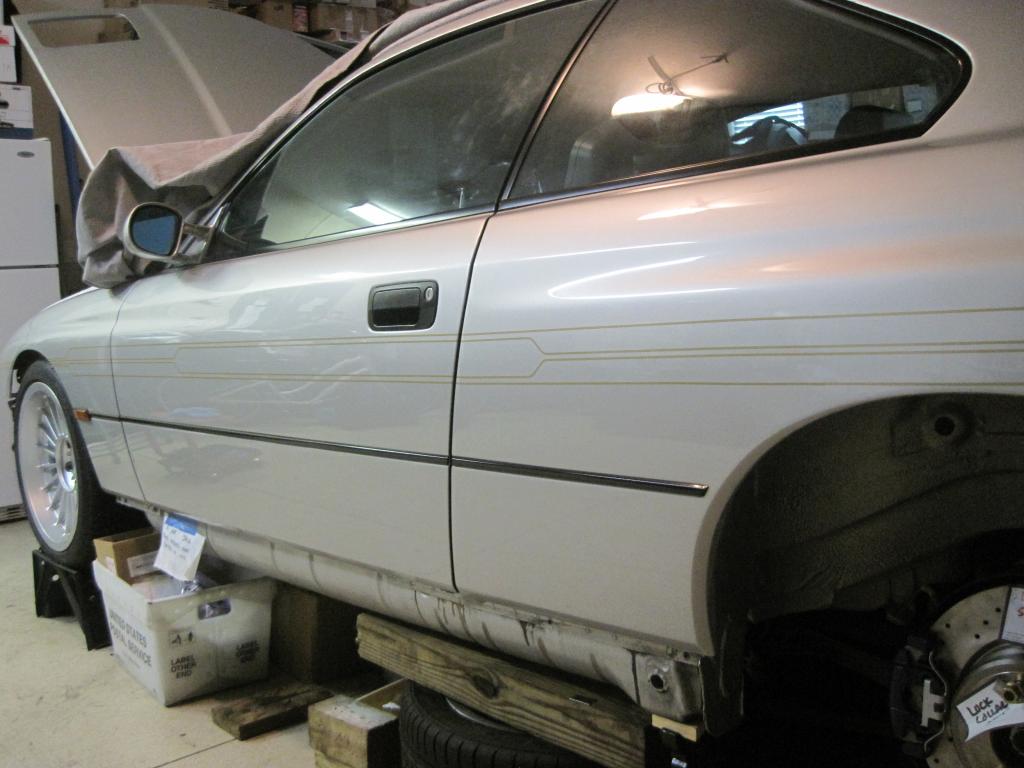
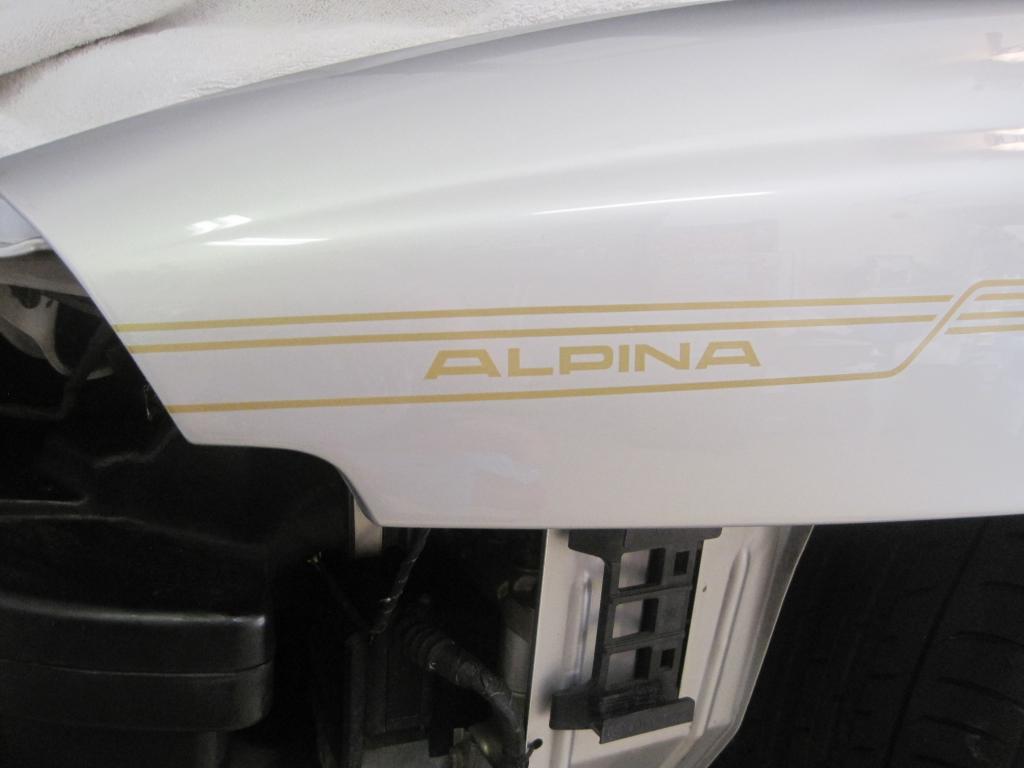
I have two acoustic covers, so I refinished one the same as the intake runners. I have the other one cleaned up to use too. I have the 1723620 new, and it is now on, just not in that photo.
Thanks again!